Visible brush strokes after painting the walls is often a matter of concern among homeowners. Most people think that they can avoid brush strokes by using a spray gun or roller instead of a brush. However, it is impossible not using the brush at all as you need to use a paintbrush to paint the corners and edges of a room.
Professional painters use several techniques while painting to avoid brush marks. They have the right skills and experience for using these techniques without leaving a brush mark behind. Let us explore some techniques used by professionals to avoid brush marks while painting.
Prep Work
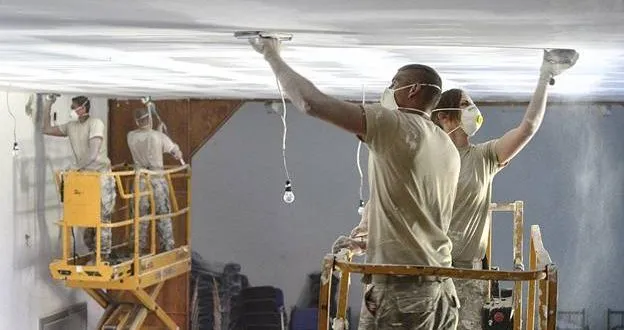
The prep work is the process that decides the final result of your paintwork. Not doing the prep work correctly can lead to uneven strokes and visible brush lines after finishing. The prep work involves washing or cleaning the surfaces, including walls, trims, doors, windows, scraping, sanding, and priming before painting. Get the prep work done by professionals and get ready for a smooth and uniform paint finish.
Use the correct brush
Brushes come in many types and sizes. Any one brush is not suitable to use in all conditions and areas. Use a straight clean-edged brush to cut in the wall and corners of the ceiling. If you have one with angled bristles, it can be the best in these areas. If you are using latex paint, you should use a synthetic bristle brush and not the one with natural bristles.
Never use brushes with a small width in areas other than corners and trims. Although it seems logical to use a small brush to avoid lines, the opposite holds true. You should always use a brush having at least 3 inches width. Large brushes hold more paint and are good for making clean strokes.
Flick the Bristles before use
Painters flick the bristles of a brush to remove the dust in them before using it. They also moisten the brush by dipping it in water if they are going to use water-based paint. If you are using an oil-based paint, you should dip the brush in turpentine instead of water. After that, you need to remove the excess liquid before dipping the brush in paint.
Paint the trim before ceiling and walls
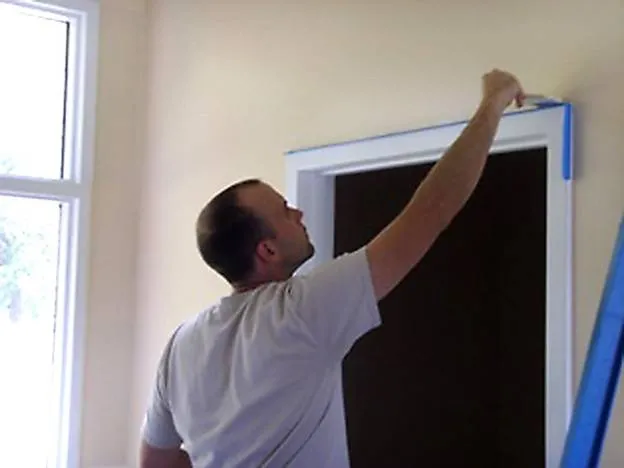
Professionals paint the trim first, followed by the ceiling and walls. The reason for using this technique is that it’s easier to tape off a trim than taping off the walls.
While painting the trim, you should try to get an as smooth finish as possible. Even if some paint gets on the walls, there is nothing to worry about. You can cover it while painting the walls. Once you paint the trim, leave it for at least 24 hours for drying. Once it dries, tape it off with a painter’s tape, then start painting the ceiling followed by the walls.
Tips for loading the brush with paint
Dip the brush in the paint so that 1/3rd length of the bristles get dipped. This prevents the overloading of brush and dripping while you paint on a wall.
Tap both sides of the brush after dipping against the side of the paint bucket or can. You should tap the brush slightly as it helps retain more paint on the interior bristles.
Some painters scrape the paint from the brush by dragging it on the edges of the can. You should never do it as it compresses the bristle, so the brush makes it ineffective.
Applying the paint
Painters use the term “Cutting” to describe painting on the corners of the walls and ceiling. Also, the cutting technique is used around door trims, window trims, and around baseboards. They use a paintbrush to cut in as it offers more control than a roller.
If you are a right-handed person, you should cut in the wall from left to right at the ceiling corners. The left-handed painters should paint from right to left in the same areas. The technique helps you to see clearly how well you are going with the brush strokes.
When colors are different
Usually, people use different colors for walls and ceiling or any two areas. If you are going to cut in a corner with two colors, you should first apply the lighter color. The reason for this is that you allow the lighter color to slightly extend to the adjacent area. You can cover the extended color with the dark paint over the lighter color. In this way, the lighter color is covered easily, and there is no risk of dark color showing through the light one.
Painting on large and flat areas
If you are painting a large area like a wall using a brush, you need to use a different technique.
Always hold the brush at an angle of 45 degrees with the surface and go with several diagonal strokes. Press the paintbrush on the wall surface, so that the bristles flex slightly.
Distribute the paint on the wall using long horizontal strokes. Don’t worry if the paint goes a bit heavy while painting on walls or large areas.
Smoothening the paint
Once the paint is done on a wall, you need to smoothen it out. To do so, you can simply draw the brush slightly across the wall using smooth strokes. The smoothening strokes are used to even out already painted areas.
At the end of every brushstroke, lift the brush from the surface. This technique helps you to slightly feather the paint strokes, which leads to smoothening of the primary coat.
Final Words
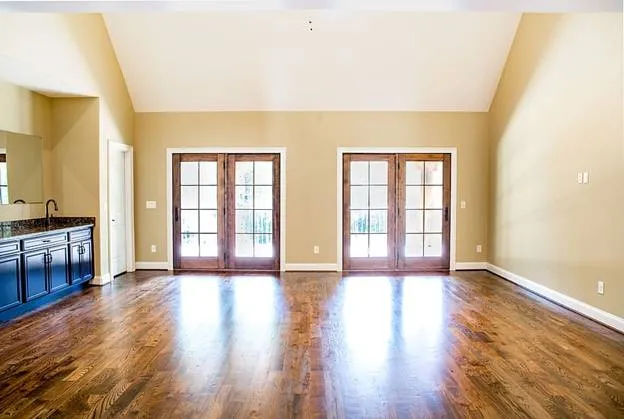
It is best to have your house painted by professional painters. Homeowners cannot paint their homes with the quality that professionals can deliver. Aqua Painting Services Sydney has been offering premium quality painting services in Sydney and surrounding areas for 17 years. If you need painting services in or around Sydney, visit their website to know more about their services. You can also call them for a quote if you decide to avail of their services.


